In AFL Fantasy, Centre Bounce Attendances (CBAs) are one of the most valuable indicators of a player’s role and scoring potential. Each week, changes in CBAs can signal role shifts, coaching adjustments, or evolving team strategies—all of which are crucial for fantasy coaches looking to stay ahead of the game. Each week, I’ll be selecting five key players whose midfield involvement is worth highlighting. For a more detailed breakdown of all the biggest movers, members can access our CBA analysis data tools here.
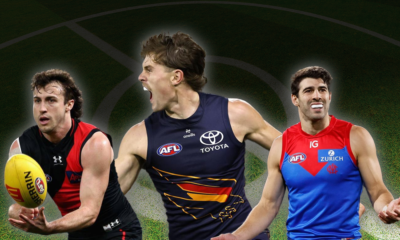
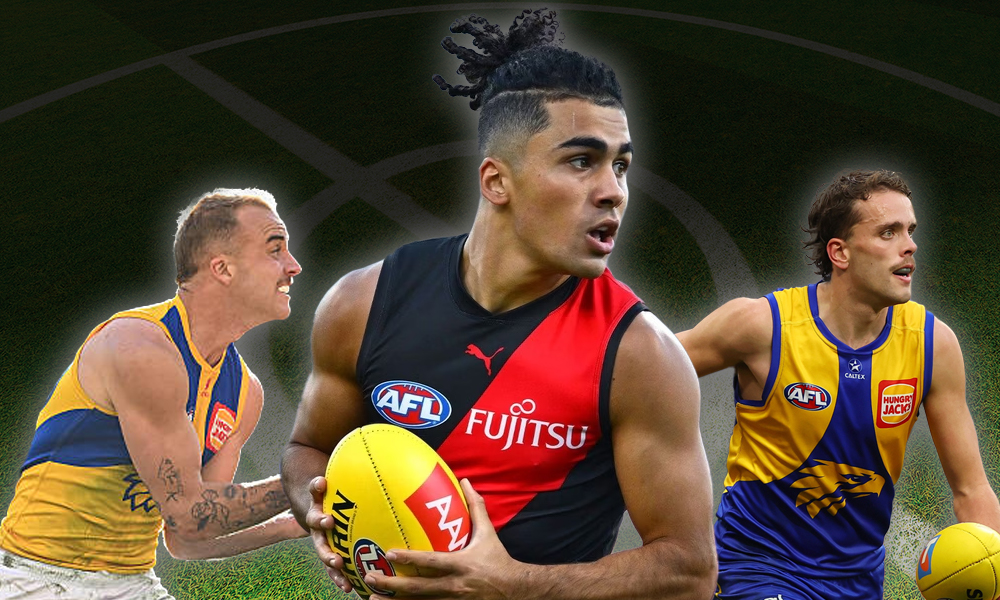
Isaac Kako
Isaac Kako was unleashed as a centre-bounce midfielder for the first time at AFL level in Round 22, attending 69% of the Bombers’ centre bounces after having none in prior games. Coach Brad Scott said the club had been planning this move, noting they had crash-coursed him in centre bounce work over the past fortnight. Kako’s usual role is as a forward, but he was trialled on-ball to add speed at stoppages. His 49 AF wasn’t huge, yet the role was the headline and is something to watch for the future.
Clay Hall
Clay Hall saw a major spike in midfield usage for West Coast. After not attending any centre bounces in previous games, he stepped into 14 CBAs in Round 22 (48% of West Coast’s total). The 20-year-old had earned a Rising Star nomination earlier in the season for his contested ball work, underscoring his potential. His role increase came as the Eagles are missing key midfielder Harley Reid due to injury, and other players like Brady Hough and Liam Baker saw less time in the middle.
Tom McCarthy
Tom McCarthy lifted to 48% CBAs after being elevated from a defensive role into the midfield. He started at the first centre bounce and attended 14 overall. McCarthy responded with a game-high 29 disposals, 627 metres gained and five inside-50s in the Eagles’ nine-point loss to Adelaide. Coach Andrew McQualter said the club always knew he could play midfield but wanted to settle him in the backline first. Injuries and role shifts created an opening, and McCarthy grabbed it with an impressive showing. Hopefully, we see more of this in the future.
Brady Hough
Brady Hough’s CBAs fell from 58% to 0% in Round 22, effectively removing him from the on-ball mix. The main reason was the return of experienced midfielder Jack Graham and the promotion of other youngsters in the rotation. Graham’s return saw him take a large share of stoppage work, while Hall and McCarthy were also given inside opportunities. Hough reverted to a half-back role and his midfield minutes now look to be matchup-driven rather than guaranteed. I still think he has the potential for the future in a halfback role, and the time he spent in the midfield previously will serve him well for the future.
Jaeger O’Meara
Jaeger O’Meara’s CBA rate jumped to 32% in Round 22, up from just 4% the week prior. Fremantle increased his midfield minutes to cover for Caleb Serong, who is spending a little more time forward and to add another experienced body at stoppages. The Dockers were facing a tough, contested battle, and O’Meara’s clearance work was needed. He scored 74 fantasy points, showing he can still contribute when given inside time. This was likely a matchup-driven boost rather than a full role change, so expect him to drift between inside and outside roles depending on team needs.
For a full breakdown of the biggest CBA movers this week, be sure to check out the CBA analysis tools available to members.
Preview of Advanced CBA Stats:
Advanced CBA Stats
| Player | Club | Pos | LG% | LG%vsPG% | Avg% | L3Avg% | LG%vsAvg% | L3G%vsAvg% |
|---|---|---|---|---|---|---|---|---|
| Isaac Kako | ES | C,F | 80 | +4 | 10.2 | 75 | +69.8 | +64.8 |
| Andrew McGrath | ES | B | 84 | -4 | 19.9 | 80 | +64.1 | +60.1 |
| Cooper Lord | CA | C,F | 58 | -24 | 19.7 | 70 | +38.3 | +50.3 |
| Caleb Windsor | ME | B,C | 65 | -8 | 10.5 | 59 | +54.5 | +48.5 |
| Tim Kelly | WC | C,F | 75 | -14 | 46.8 | 82 | +28.2 | +35.2 |
| Connor Rozee | PA | B,C | 82 | +24 | 36.4 | 71 | +45.6 | +34.6 |
| Nasiah Wanganeen-Milera | SK | B | 67 | -13 | 26 | 60 | +41 | +34 |
| Ivan Soldo | PA | R | 29 | -49 | 29 | 61 | 0 | +32 |
| Tom McCarthy | WC | B,C | 43 | +2 | 15.2 | 44 | +27.8 | +28.8 |
| Harry Sheezel | NM | B,C | 56 | -9 | 35.4 | 63 | +20.6 | +27.6 |
Key:
LG% – Percentage of CBAs last game
LG%vsPG% – Percentage of CBAs last game versus percentage of CBAs previous game
Avg% – Average of CBA percentage in games played
L3Avg% – Average of CBA percentage over the past three games
LG%vsAvg% – Last game CBA percentage vs average CBA percentage
L3G%vsAvg% – Last three games CBA percentage vs average CBA percentage
Last Round vs Previous Game
| Player | Club | Pos | AF | TOG% | LR | LR% | PGCBA | PGCBA% | CBA Diff. | CBA% Diff. |
|---|---|---|---|---|---|---|---|---|---|---|
| Trent Rivers | ME | B,C | 75 | 72 | 20 | 77 | 4 | 17 | +16 | +60 |
| Zak Jones | SK | C | 61 | 64 | 16 | 48 | 0 | 0 | +16 | +48 |
| Harry Rowston | GWS | C | 77 | 73 | 15 | 45 | 0 | 0 | +15 | +45 |
| Hayden Young | FR | C | 57 | 65 | 15 | 43 | 2 | 7 | +13 | +36 |
| Travis Boak | PA | C,F | 94 | 79 | 17 | 77 | 14 | 45 | +3 | +32 |
| Tim Taranto | RI | C | 85 | 86 | 23 | 88 | 22 | 59 | +1 | +29 |
| James Rowbottom | SY | C | 90 | 74 | 11 | 39 | 3 | 10 | +8 | +29 |
| Shai Bolton | FR | C,F | 85 | 83 | 16 | 46 | 4 | 17 | +12 | +29 |
| Archie Perkins | ES | C,F | 74 | 80 | 7 | 28 | 0 | 0 | +7 | +28 |
| Dylan Shiel | ES | B,C | 102 | 67 | 14 | 56 | 8 | 28 | +6 | +28 |
Key:
AF – AFL Fantasy points scored last round
TOG% – Percentage of Time On Ground last round
LR – Last Round Centre Bounce Attendances
LR% – Last Round Centre Bounce Attendance Percentage
PGCBA – Previous Game Centre Bounce Attendances
PGCBA% – Previous Game Centre Bounce Attendance Percentage
CBADif – CBA Differential of Last Round vs Previous Round
CBA%Dif – CBA% Differential of Last Round vs Previous Round
CBA% By Round
| Player | Club | Pos | Avg. | 0 | 1 | 2 | 3 | 4 | 5 | 6 | 7 | 8 | 9 | 10 | 11 | 12 | 13 | 14 | 15 | 16 | 17 | 18 | 19 | 20 | 21 | 22 | 23 | 24 |
|---|---|---|---|---|---|---|---|---|---|---|---|---|---|---|---|---|---|---|---|---|---|---|---|---|---|---|---|---|
| Ned Reeves | HW | R | 89 | 89 | ||||||||||||||||||||||||
| Lloyd Meek | HW | R | 87 | 86 | 91 | 91 | 91 | 94 | 89 | 82 | 72 | 79 | 81 | 79 | 83 | 100 | 79 | 89 | 92 | 83 | 92 | 88 | 93 | 92 | 80 | |||
| Noah Anderson | GC | C | 87 | 74 | 83 | 90 | 81 | 96 | 88 | 95 | 78 | 86 | 88 | 88 | 94 | 88 | 90 | 84 | 95 | 88 | 79 | 90 | 86 | 83 | 82 | |||
| Reilly O'Brien | AD | R | 87 | 91 | 84 | 94 | 80 | 81 | 93 | 88 | 88 | 89 | 92 | 80 | 83 | 91 | 100 | 89 | 93 | 83 | 92 | 78 | 84 | 93 | 85 | 81 | ||
| Jarrod Witts | GC | R | 86 | 84 | 79 | 87 | 75 | 87 | 84 | 95 | 84 | 80 | 92 | 83 | 89 | 91 | 90 | 91 | 84 | 85 | 76 | 86 | 87 | 95 | ||||
| Tristan Xerri | NM | R | 86 | 88 | 84 | 79 | 77 | 78 | 87 | 90 | 91 | 96 | 96 | 78 | 84 | 91 | 88 | 82 | 76 | 76 | 89 | 89 | 92 | |||||
| Harry Boyd | SK | R | 86 | 86 | ||||||||||||||||||||||||
| Max Gawn | ME | R | 86 | 92 | 87 | 76 | 86 | 85 | 88 | 75 | 94 | 79 | 84 | 83 | 87 | 92 | 83 | 90 | 86 | 82 | 88 | 93 | 82 | 82 | 88 | 85 | ||
| Rowan Marshall | SK | R | 83 | 14 | 81 | 84 | 88 | 81 | 90 | 88 | 91 | 88 | 88 | 96 | 83 | 81 | 87 | 87 | 89 | 70 | 70 | 93 | 87 | 89 | 100 | 94 | ||
| Tim English | WB | R | 83 | 76 | 75 | 73 | 77 | 83 | 83 | 88 | 83 | 81 | 77 | 87 | 83 | 88 | 78 | 85 | 81 | 86 | 85 | 94 | 82 | 88 | 89 | 86 |
View more CBA Analysis numbers here.